SCAD X The Mill- Lighting and Rendering
Some detail changes, Troubleshooting Render issues
PROJECT- SCAD X THE MILL
10/24/20234 min read
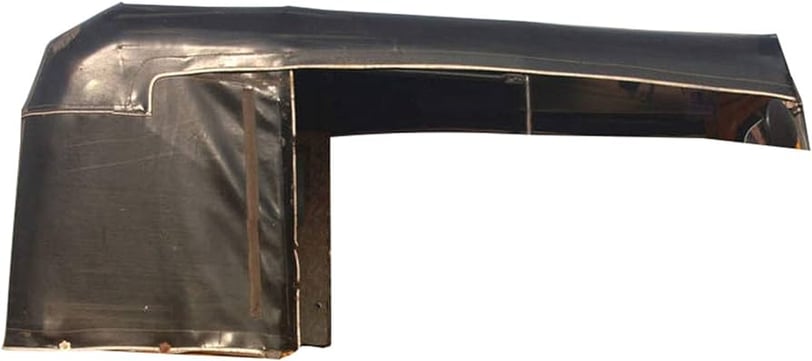

Soft top for Tuk-tuk
Based on our mentor’s comment on the canopy material and geometry, our team agreed to add some details, such as fabric stretches and crumples, to the canopy. We compared these options to achieve such changes-
Painting the details in Substance Painter as a height map and adding displacement to geo
Bringing mesh to Zbrush to sculpt using fabric simulation, bake high-poly mesh onto default geo as texture
Simulate cloth in Houdini, deform geometry using point deform node
Method 1 and 2 were to change the texture maps to manipulate the final render result of our vehicle, while method 3 was to replace the geometry itself for certain shots where the canopy would be visible(shots 3, 5, 6). Our team was concerned that the results may be not as believable when we rely on texture maps, so we agreed upon method 3.
This method was suggested by Zach, and the base file was also provided by him. My task was to use the Vellum Brush function to manipulate the cloth to add the details onto the geo.
I struggled to add the details that I wanted in my first iteration. After some research and tests, I figured that this was due to a few reasons.
Low poly geometry
Low Vellum Solver Substeps
Low stiffness dropoff
After figuring out the exact setting for the desired effect, I focused on the bigger, coarser wrinkles that were drawn across the soft top diagonally. Based on my observation, most of the creases on the soft top were due to stretch forces- so I used the drag brush to push and pull certain parts of the roof.
I looked at the following reference to look at, and a few others to understand the stiffness and structure of the soft top. I wanted to make the main crease a bit more relaxed due to the structure difference from the reference.
The exported geo was then put into each scene to replace the animated geometry.
Color Correction for Environment Props
We saw some discolorations of certain rocks in shot 5, an well as added new environment elements like bushes. Based on the reference and shot 5 render how it looked before the color change, I re-aligned the colors of the environment props to better blend into the scene.
Without tweaking each material in Substance Painter, I applied color correction in the shader itself for easier manipulation and real-time updates. I figured that this also would allow easier fixes in the future in case there is a need for more.
This is how it looks before, and after.
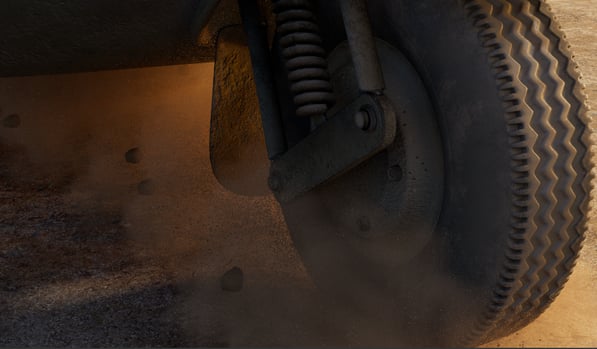
Tuk-tuk Material Changes
Especially with the close-up shot of the tire and mechanics covered in dirt in our production, I wanted to improve our textures further. Based on the materials that I developed with Professor Gaynor, throughout the last week, I applied those once again and changed the density of dirt splatter. I based my work on this reference, focusing on the transparency of the dirt layer and where it forms.
Before it was fixed, there were multiple layers of dirt- which was way too messy for the terrain our vehicle usually goes, and thus, lacked believability.
After fixing it, I simplified the layer of dirt accumulation into one-two. For the tire, I differentiated the surface area and the side of the tire- as we observed that they differ in color and roughness due to friction damage.
Also, based on our mentor’s feedback, I added more damage and imperfections onto the decals on the surface. Now, there are more uneven edges and paints chipped away here and there.
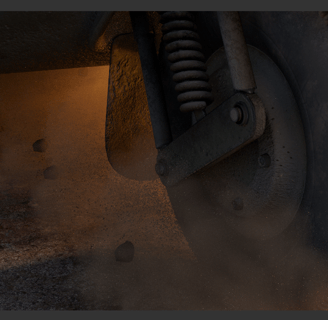
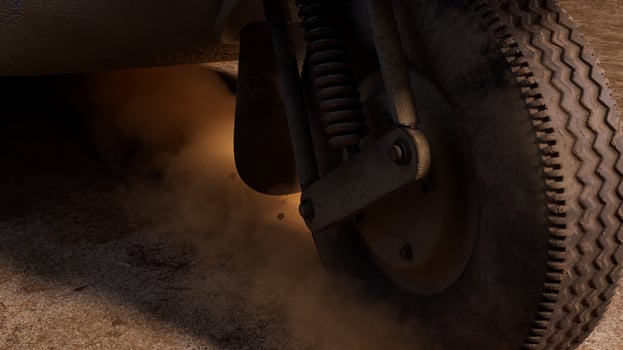
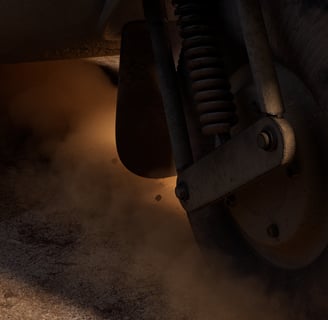
Lighting & Rendering
As a close-up detail shot, both me and Zach focused on shot 2 for its FX and lighting to enhance the effect. While testing different HDRIs based on our professor’s decision, we encountered a happy mistake of finding a better light direction than what we had initially set. This lighting improved on showing the volume of the dust, while keeping the high-contrast & low sun lighting.
This is how shot 2 looked before, and how it looks after the lighting changed.
Our focus was to set the AOVs for compositing, setting up motion blur, and finding optimal render settings for each shot. The render farm was down this Sunday and came back by Monday, so we were struggling to best optimize and configure the render settings. Due to this, integration of AOVs and compositing had to be pushed back.
Me and Zach also tried to figure out motion blur in RS but failed to do so. We plan to troubleshoot this with our professors during week 7, so we could also apply the same for the other shots(maybe shot 3? And shot 5).
To-Do for Week 7
Finalize look dev for Tuk-tuk
Integrate tire tracks onto environment(attribute transfer) - feedback from our mentor Natalie
Finalize lighting for shot 2
Troubleshoot shot 2 motion blur
Export shot 2 with all passes and AOVs to hand to the compositor


Once the manipulation was done, I blended the deformations with the original geometry for more control of density.